Pages


Saturday, 13 September 2014

My Fair Lady


This screamed Audrey Hepburn My Fair Lady soooo much I started singing ‘I feel Pretty’ now my singing aint pretty I will tell you lol.
So ideas popped into my head, now why do they do that especially since I didnt have what I needed to take them through to completion doh.  Okies rethink make yer own paper bags hen, simples!  So thats what I did.

Mini Album was born, and lo and behold my head said put in a mini at the back.  Okies Wendy stop influencing me,  Her response – ‘sure blame me’ rofl cgu pml.  I do love that gal to bits.  Well they do say crazies stick together hee hee.

I only used Authentique Classique Pretty paperpad with a wee bit of bazzil pink cardstock – well I would add another mini to the mix, which means I only had tiny scraps left over.  Little cards methinks.  No waste in this house.  Can make tags for Christmas, or wee cards or or………….
leftovers


I also used the Wink of Stella pens, oooh these are sooo pretty and elegant.  You cannot see it really on the photographs but gives a beautiful shimmer.  I also made some stickpins (of course) from my stash.
P9080179

These are so fun to do.

Front of the mini. 
Had some lovely pieces of paper after cutting up my papers so wanted to use them up.  So a collage front was born.  Added a few of the stickers, I put them onto cardstock (thanks Gwen – craftylady, who uses chipboard) for the idea, didnt want to chipboard them.  Give's a lovely look to them.  Added the Wink of Stella clear pen to the lady and the words sparkle.  Love it.  I also saw on the top of the papers a lovely sentiment so hauled that in.
P9080010
Love the eclectiv look of it. 
Inside of cover, decided I wanted some pearls, well it is My Fair Lady after all lol.
P9080178Prima pearly bling from stash.

Page 1P8290158
used a belly band to insert the tag into
P9080176
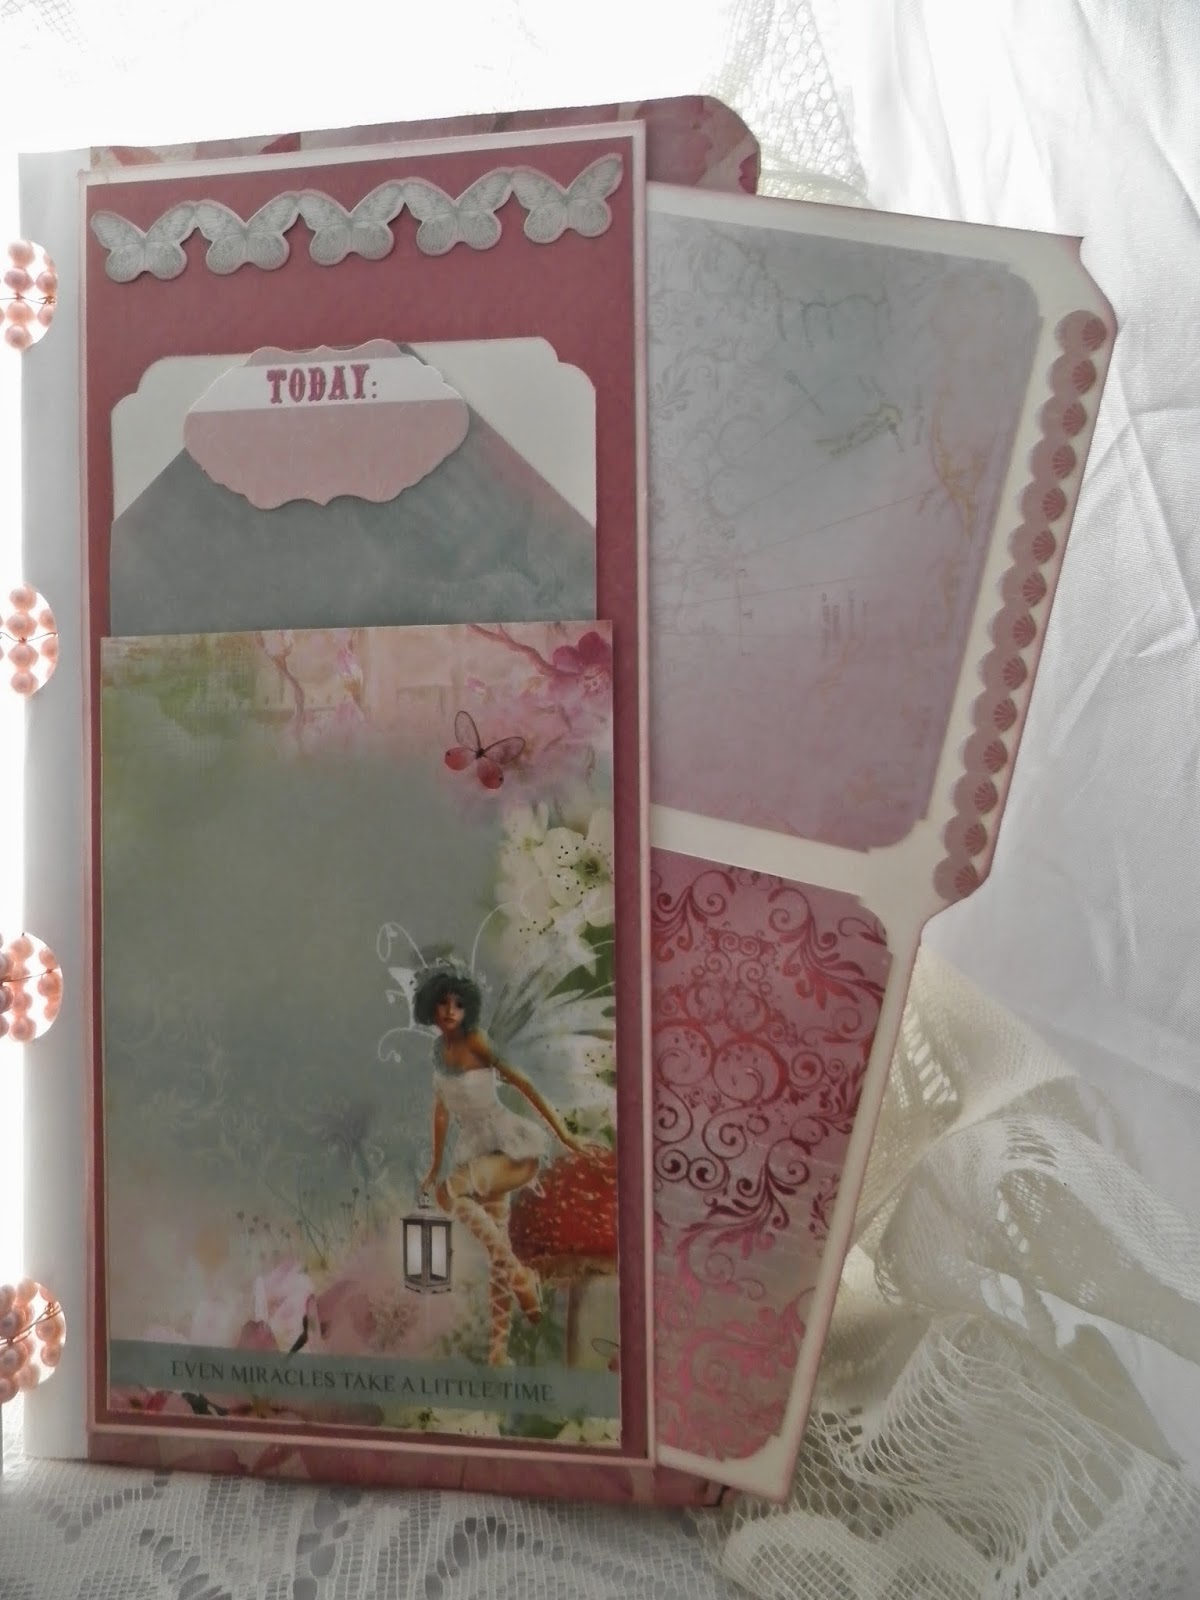
fold paper back to give two pockets one at the front and one behind it
P8290169  
did an elongated pocket so I could put a tag in the front  and when opened can put a tag in the back
P8290161
love the cut out.
P8290170  P8290162
did another fold back for two tags and made a pocket for a large tag
the other side of the pocket
P8290164
made a tag holder with two of the pop outs – then a doh moment, its on the flap moffat, okies so added another cutout for the top to prevent it sliding out lol.
P8290165 
hmmm a wee theme is recurring here, fold back the paper to make two pockets lol.
P8290166
lovely paper ideal for a journalling sport and pocket for large tag in the elongated pocket
P8290167
Used Spellbinders A2 Curved Bordes One to make a pocket

Page 2
I didnt elongate the flap but used magnets to secure it down.
P8290144
used the magnets to secure the small side  flap to the top flap
P8290145
small flap opened, I do love the roses effect
P8290142
added a longer side flap on the left
P8290147
Had to get my Prima Bloom Cotton Candy spray in somewhere lol and also used a different die from the Used Spellbinders A2 Curved Bordes One to make a pocket
Other side:
back page
P8290149
Used Spellbinders A2 Curved Bordes One, makes fab pockets
Okies started to run out of larger pieces of paper so left these simple to apply pictures to.
P8290150 P8290151 P8290152
cheated a wee bit and added some Bazzell cardstock to eek out matting for the top flap rofl
and this is where my brain went nuts – make another one to add to back chipboard piece sheesh brain.  Made a chipboard pocket to ensure it would be safe.
inside back chipboard pocket with mini
This mini is plain cause there isnt much room in the pocket for embellishments but you can add them if you wish.
Love the paper.
front 4
5 6
7 front open to left right side page
8
this page is a collated pieces cause I loved them so much lol

Tags can be inserted into the top pocket, oops forgot to add them lol.

tutorial can be found here

Saturday, 16 August 2014

Pearly Girl

Love fiddling with flaps, pockets, beads, wires and when I got the BoBunny Enchanted Garden paper and accessories I was in looooove lol.   Ok had to use beads of some description here and so this particular binding method can to fruition.  I saw this method some time ago and thought perhaps instead of cutting chipboard, with my hands it can be difficult, there must be another way of using it soooooo this is what I can up with. 
  I used
BoBunny Enchanted Garden paperline and accessories for this one - the 6 x 6 pad, the brads, the buttons, layered chipboard, the jewels, emphera pack.
Embossing powders Ranger Queens Gold Embossing Powder, Lindys Stamp Gang Terra Cotta Plum.
Stamps Impression Obsessions  Cover a Card QuatrefoilPapermania Postal Frame, Papermania Botanical Print, Bobunny It is Written, INDIGOBLU-Crackleglaze
Dies - Spellbinders Fancy Postage Stamp A 2 Card Creator, Spellbinders Botanical Swirls Die, Spellbinders Butterfly Magic Die, Cottage Cutz Small Confectionery Bag Die, Cottage Cutz Victorian Gate Die ,Spellbinders Country Charm dies, Spellbinders A2 Curve Border 1
Indigo Blu Gilding Flakes
Darice Pearls  10 mm Pearls and 8 mm pearls
Sprays  Prima Color Bloom  Gold Foil, Cotton Candy, Pearl White, Soft Teal
Ribbon Leaves Olive Green
Wires, jump rings and spacers from my stash
have fun

P8080098
I used a cutapart from one of the pages, immediately thought this would do for the front door.
Had some ribbon olive leaves in my Design Kit and thought yea around the door.
I cut the shanks off of some of the brads and used silicone glue to attach to the front cover.
Bobunny’s gorgeous jewels for the base of the door made it pop.

photo
Spine
wire binding with pearl drops


PAGE 1
P8080099
Front page pocket with tabbed photo matt,
I cut out one of the smaller cutapaarts and mounted it on some chipboard
(love Gwen’s idea for this)
The binding started out as white cardstock and I then used Prima Color Bloom Soft Teal
Darice Pearls were used as part of the binding

P8080100
top opening flap.
I loved the paper and thought it could stand on its own without a lot of embellishments
I used some of the layered chipboard accessories to hight aspects

P8080101
close the flap and then open it from left to right
again wanted to leave the paper clean
(also I had used a lot of embellishments on other pages and it was getting rather bulking rofl)

 P8080102 
reverse side, again a top flap
did I tell you I love this paper lol
side pocket with tabbed photo matt

P8080103
waterfall flaps (again one of my favs)
I used three of the layered chipboard for the bottom

Each of the pockets have similar format.

P8080107
used white embossing powder with Chandelier stamp

P8080104
another pocket, with layered chipboard piece
these are gorgeous
 P8080105
love this cute little character on a pocket, of course, lol
I made an inside pocket with photo matt to go inside it

 P8080108
pockets again lol
 P8080109 P8080110
adore this cutapart, decided to use it as a pocket so made a wee slit and used it for a tag
 P8080111
I used Prima Colour Blooms soft teal and cotton candy on white cardstock
the picture does not do it justice, it is soooo lovely, soft and shimmery looking
 P8080112 P8080116
I loooove dies of any description and hauled out my spellbinders

P8080113
again a cutapart used as a belly band type pocket

 P8080114
more flaps added lol,
 P8080115
Cottage cuts confectionary die used for the pockets

  P8080117
One of my many favourites lol

 P8080118 P8080119
on the left Rangers Gold embossing powder and Indigo Blu Crackleglaze
on the right used papermania Papermania Botanical Print,
tag I used Lindy’s Stamp Gang Terracotta Plum embossing powder with BoBunny It is Written stamps

 P8080120
Had to use my gilding flakes with quatrefoil stamp
 P8080121 P8080122
Indigo Crackleglaze with Lindy’s Stamp Gang Terracotta Plum embossing powder
used Gold embossing powdere to give an edge to the photo matt

Tutorial can be found here

You can also use this method on chipboard:
I love all things ethereal so when I saw the KaiserCraft Enchanted Garden paper collection I had to use it, so when I used it lavishly on my Boxed Memories Album I still had leftovers woo hoo.
No waste in this household so had this lovely chipboard album to play with and decided it would go together beautifully.


Acetate front cover, and I fussy cut the fairy and toadstool and put it on the front. 
The paper bundle has a lovely page of borders so enjoyed playing with them.
Wild Orchid Craft flowers were used for a wee touch on the front.
 Peach 2 Tone Wild Roses, these are gorgeous and I also used Cherry Blossoms to tuck in the corners.

A couple of pages inside
There are some lovely tags in this bundle and I used one to make a pocket. 
The top of the page I used a stamp from my stash and the Lindys embossing powder.
I had some paper cut outs in my stash that I trimmed  (don’t like the white edges)  for the hummingbird to feed off.

Stunning papers in the bundle, pocket on front of page and a tag tucked in behind the pocket at the side.

To finish the album, I used Gilders Paste to edge the album, of course!  My fav, didn’t ya know rofl.